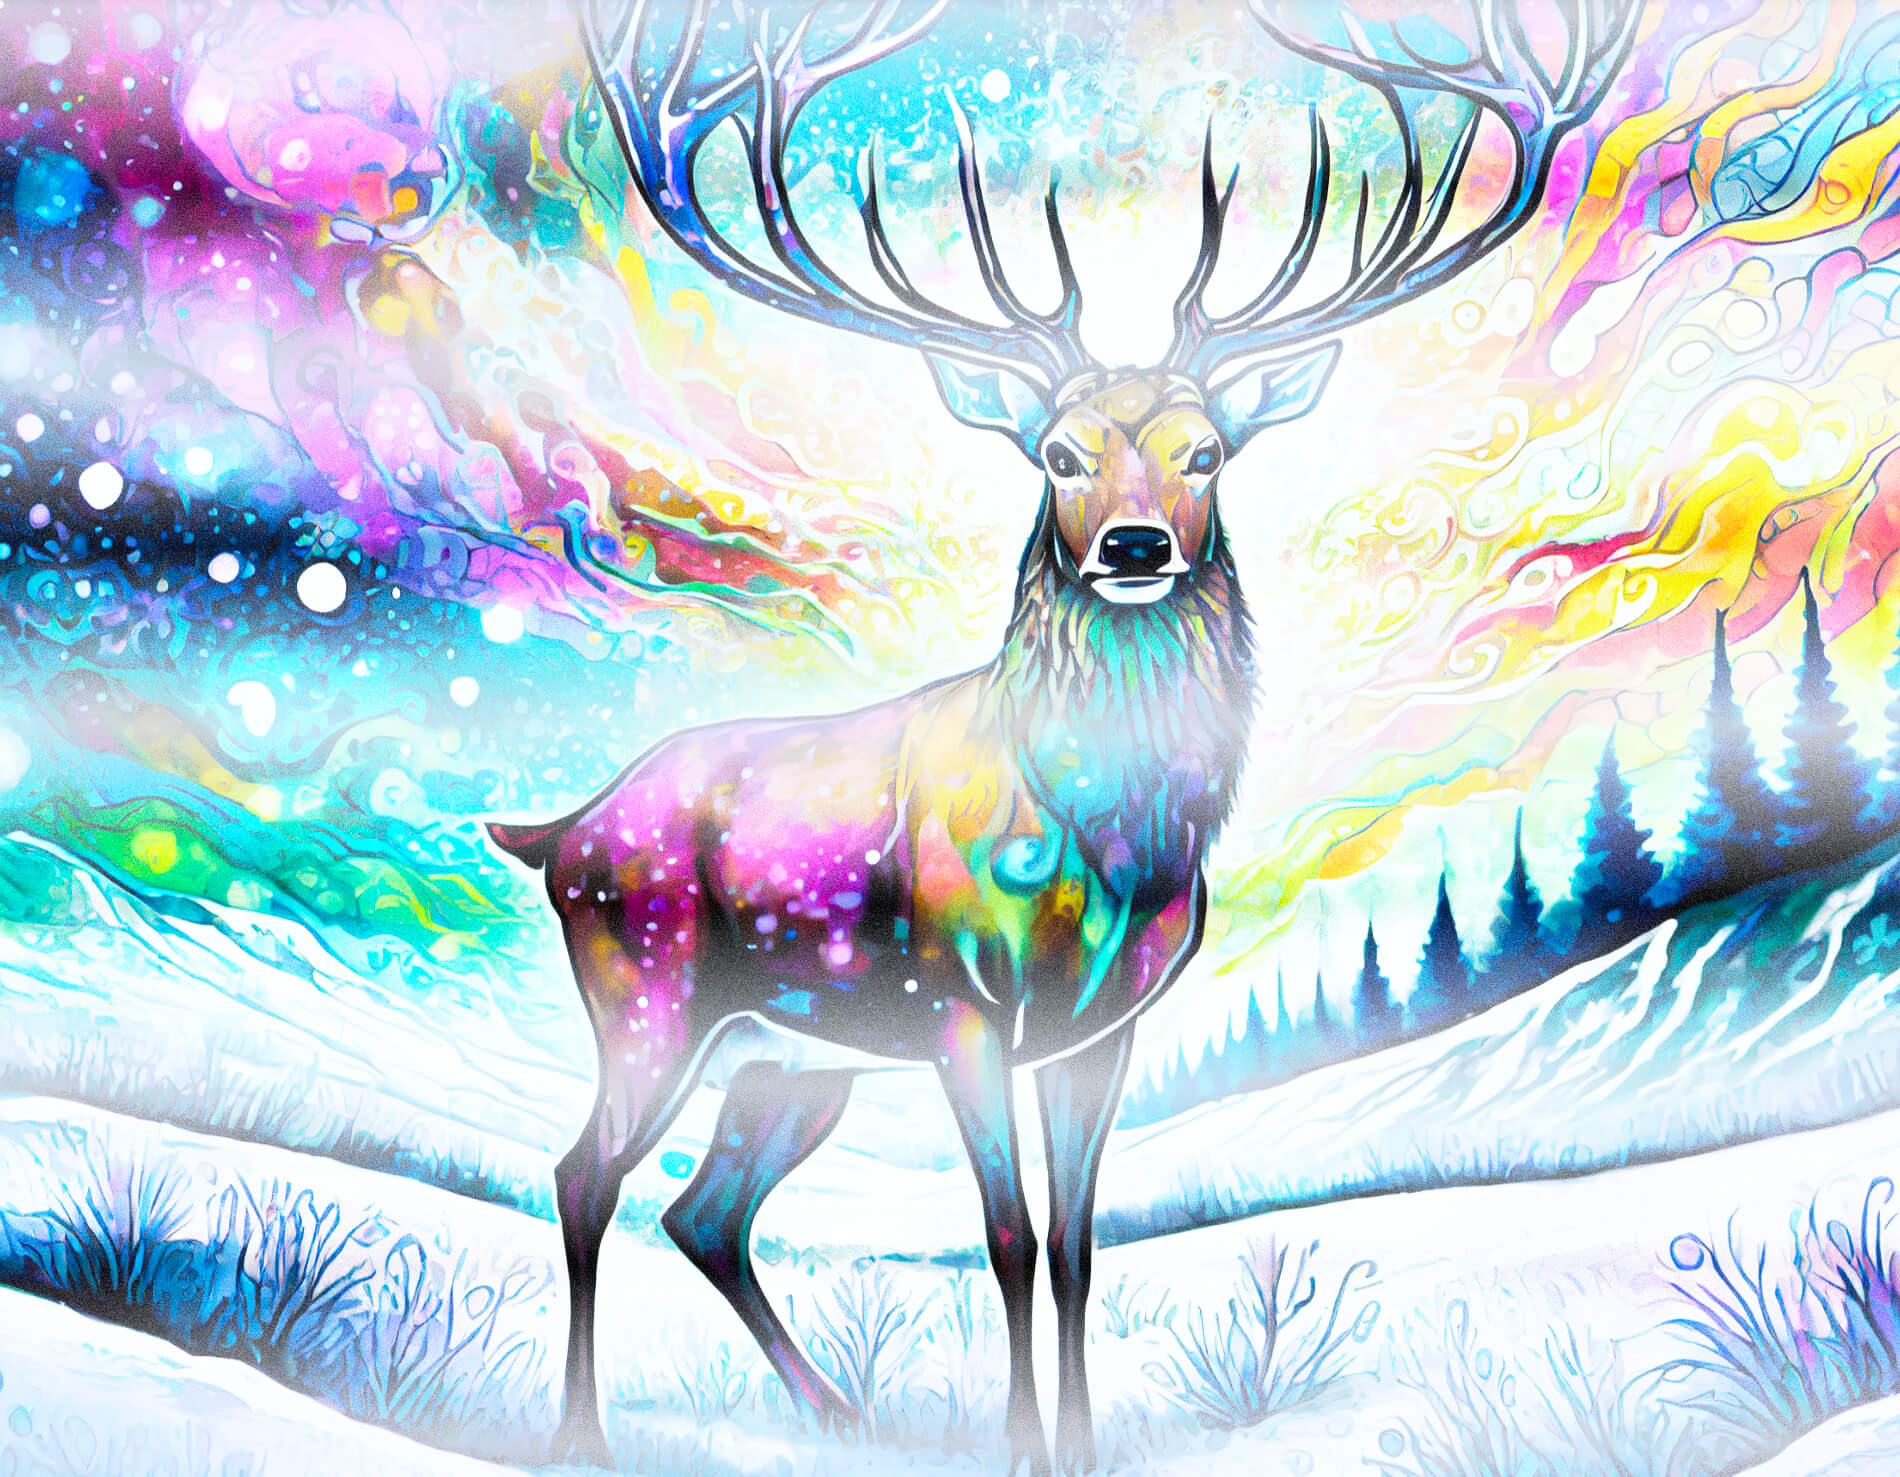
鹿展Vol.7特設サイト公開
2月2日から神宮前ギャラリーで開催される「鹿展Vol.7」の出品作家さんを紹介する特設サイト鹿展 Creators List Vol.7を公開!
様々な分野で活躍されている作家さん8名が出品予定です。個性豊かな鹿たちにぜひ会いにきてください。
今回のサイトにはスクロールにあわせてアイキャッチを切り替えるパララックスを実装してみた。スマホなどの小型端末とも相性のよい上、CSSのみで手軽に設定することができる。
HTMLコード
アイキャッチ画像を全面表示するための<div>要素の中にfigure要素<figure>と、タイトル要素<h2>を配置。
<div class="catch">
  <div class="catch-inner" id="pic-1">
    <figure></figure>
    <h2 class="catch-title">タイトル1</h2>
  </div>
</div>
<div class="catch">
  <div class="catch-inner" id="pic-2">
    <figure></figure>
    <h2 class="catch-title">タイトル2</h2>
  </div>
</div>
CSS
figureの背景画像としてアイキャッチ画像を設定、画面中央にタイトルを固定表示するようスタイル設定する。タイトルには画像を設定することもできる。(実際のサイトでは一枚目は画像、二枚目は白抜き文字を設定している。)
.catch{
  position: relative;
  width: 100vw;
  height: 100vh;
}

.catch-inner {
  position: absolute;
  overflow: hidden;
  width: 100vw;
  height: 100vh;
  clip: rect(0, auto, auto, 0);
    -webkit-clip-path: polygon(0 0,100% 0, 100% 100%, 0% 100%);
            clip-path: polygon(0 0, 100% 0, 100% 100%, 0% 100%);
}

.catch-inner figure {
  display: flex;
  position: fixed;
  top: 0;
  left: 0;
  width: 100vw;
  height: 100vh;
  background-size: cover;
    -webkit-box-sizing: border-box;
       -moz-box-sizing: border-box;
            box-sizing: border-box;
}

#pic-1 figure {
  background-image: url("../img/catch1.jpg");
  background-position: right 50% bottom 50%;
  background-repeat: no-repeat;
}

#pic-2 figure {
  background-image: url("../img/catch2.jpg");
  background-position: right 50% bottom 50%;
  background-repeat: no-repeat;
}

.catch-title{
  display: -webkit-box;
  display: flex;
  -webkit-box-align: center;
          align-items: center;
  -webkit-box-pack: center;
          justify-content: center;
  position: fixed;
  top: 0;
  left: 0;
  padding: 0 1rem;
  width: 100vw;
  height: 100vh;
  text-align: center;
  font-weight: 700;
  font-style: normal;
  font-size: 4em;
}
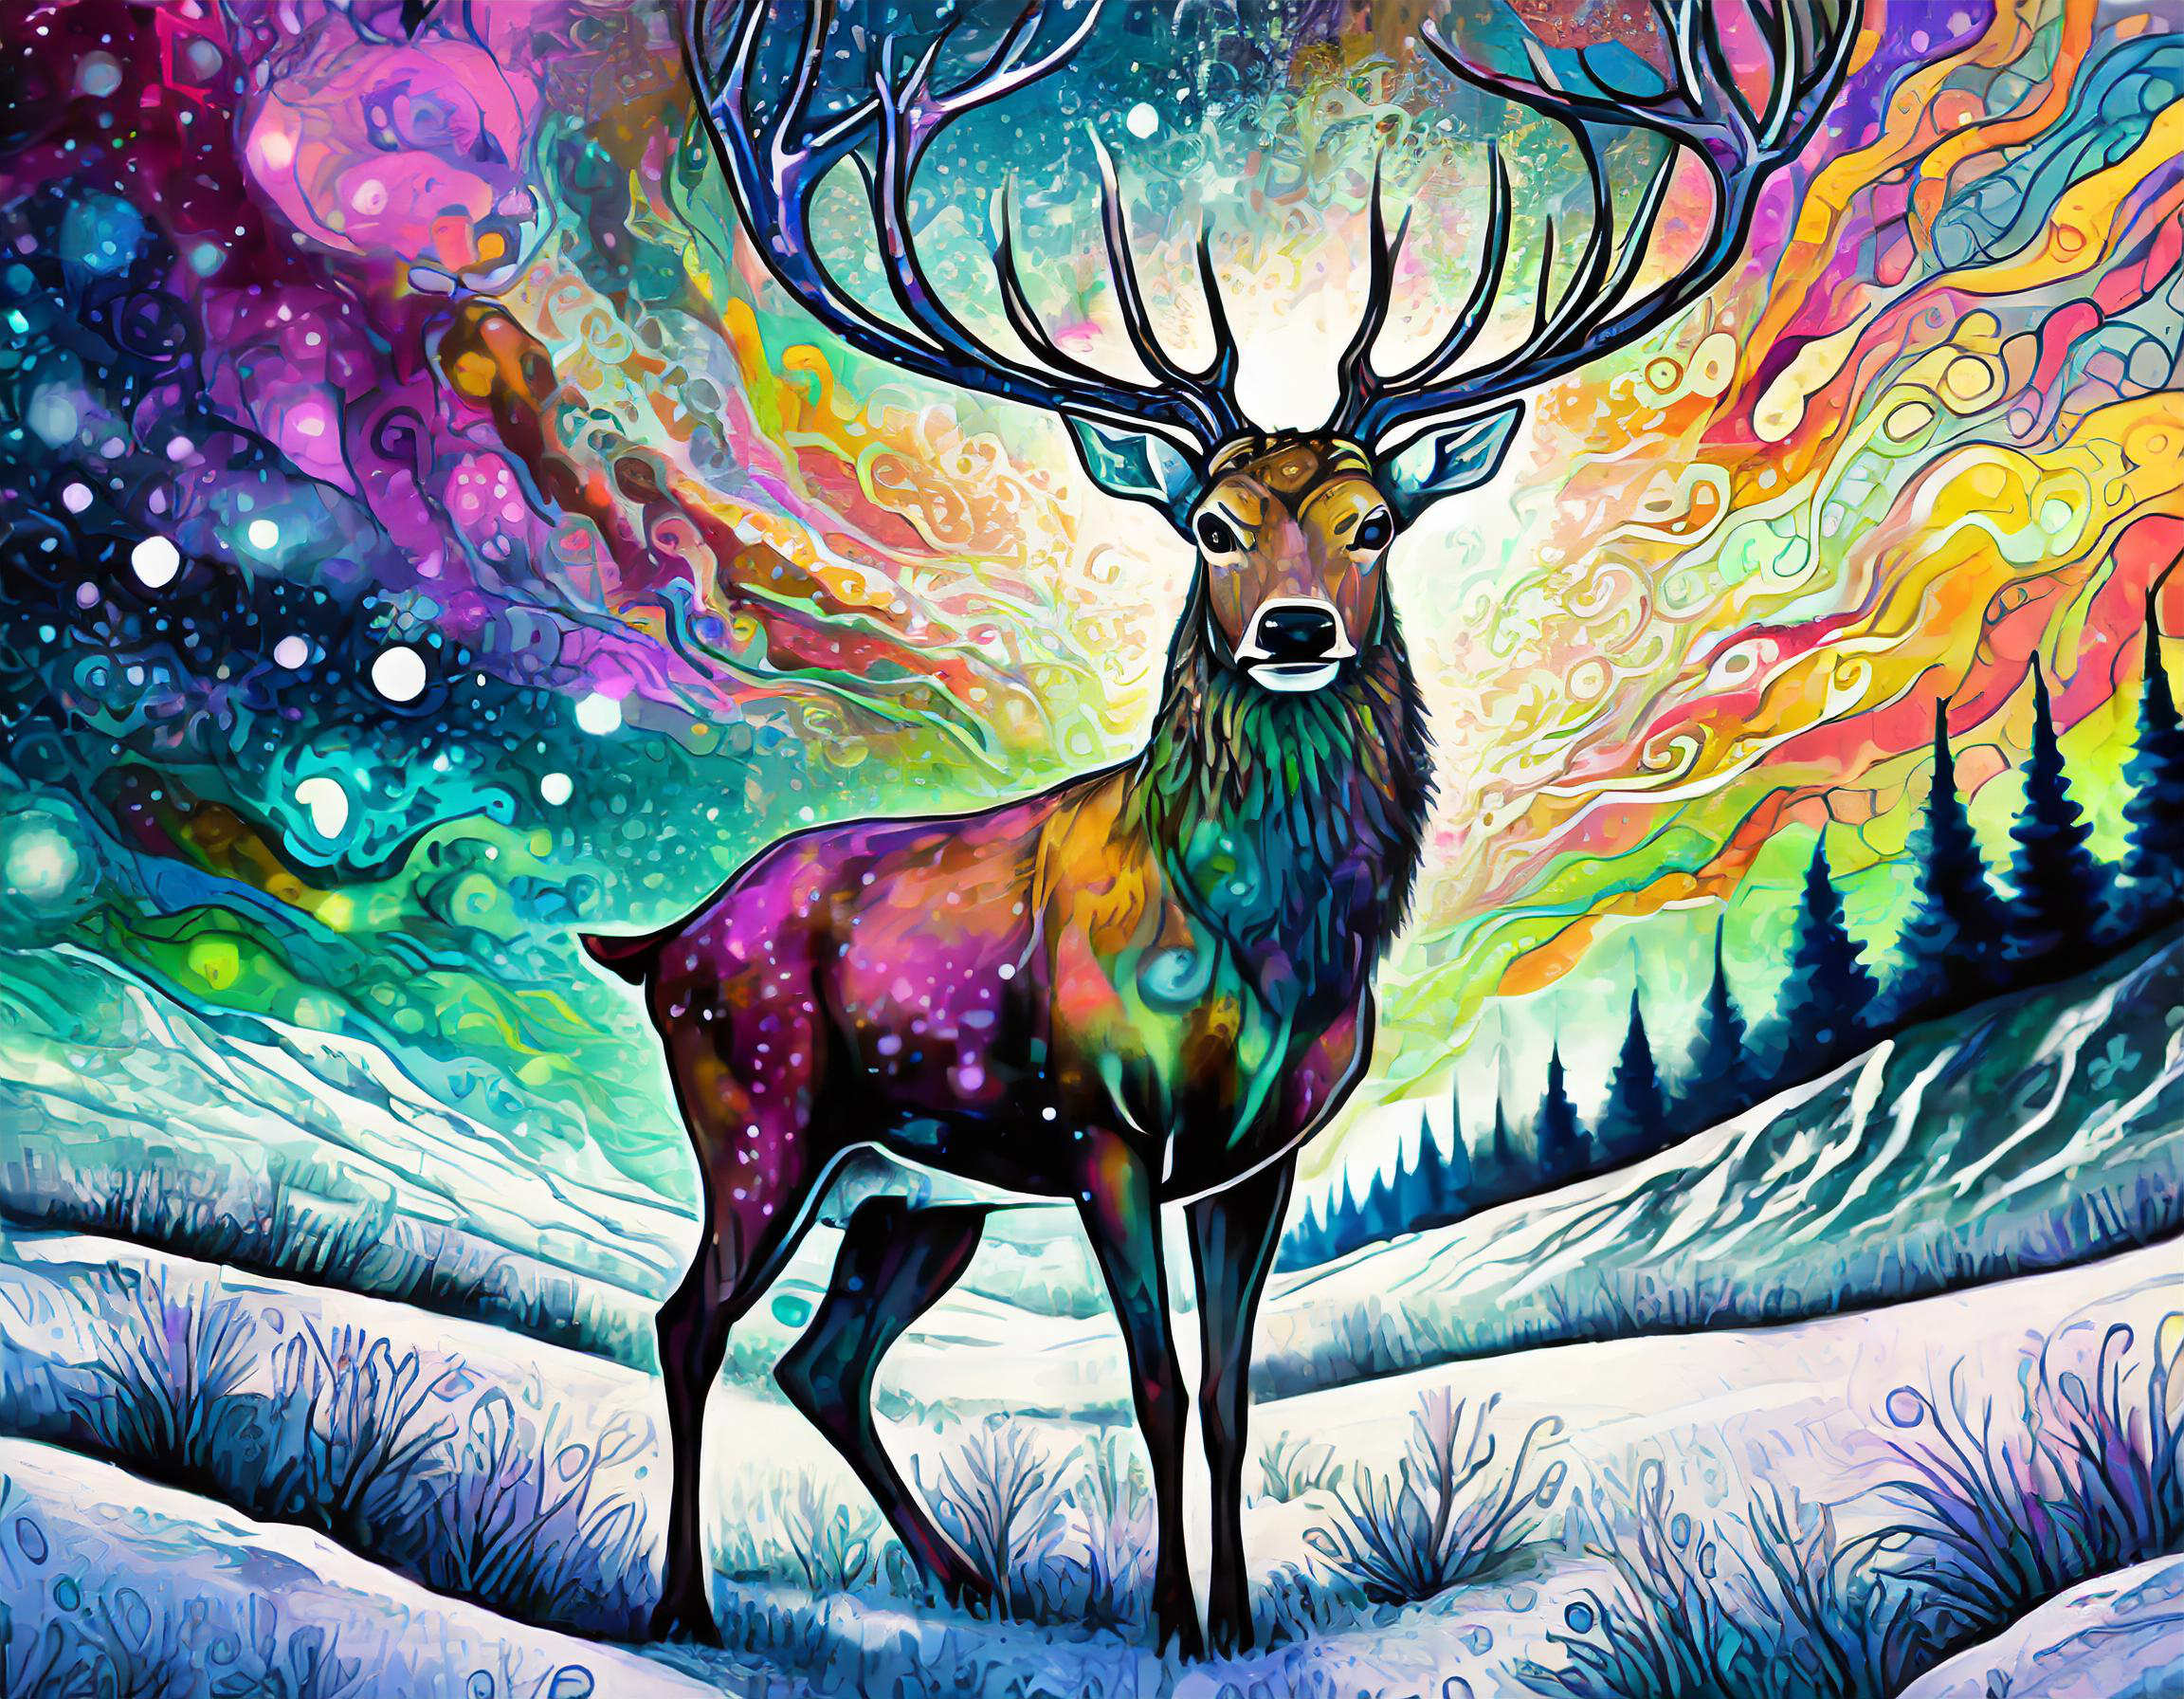
アイキャッチの鹿画像はAdobeのFireflyを使って生成したものをベースに作成した。生成した元画像はこちら。生成時のコマンドは「雪原に力強く立つ一頭の雄鹿 真正面を向き、こちらをみつめています サイケデリックな画風で描いてください」

登場当初は不自然な描画や破綻が多かったAI生成だが、ここ最近はかなりクオリティが高くなってきた。もっと色々遊んでみたいのだが、私のMac Book Airの処理能力では対応できなくなってしまった。(IllustratorのAI描画機能はメモリが足らずにエラーがおこってしまう。)そろそろMacを買い替えたくなってきたが今年はななちの大学受験があるのでおあずけかな…。
2024.1.18投稿
